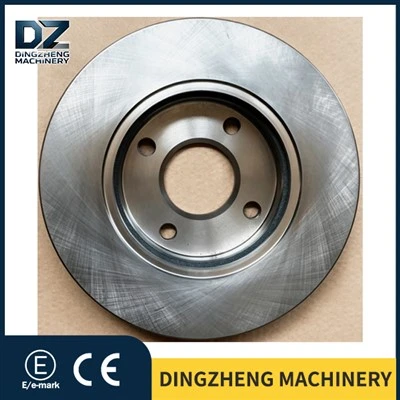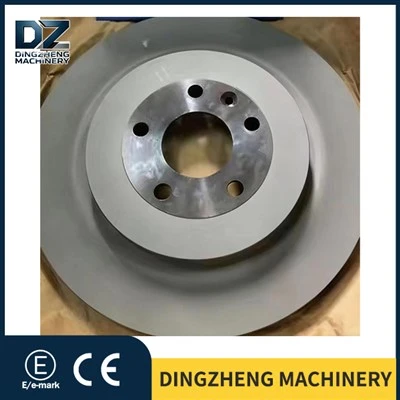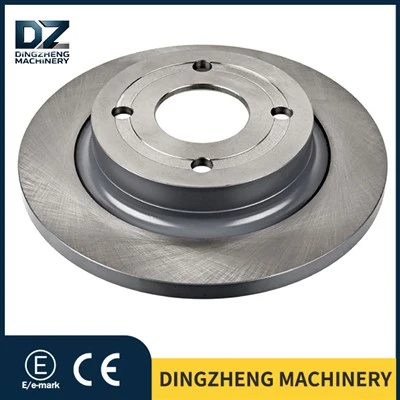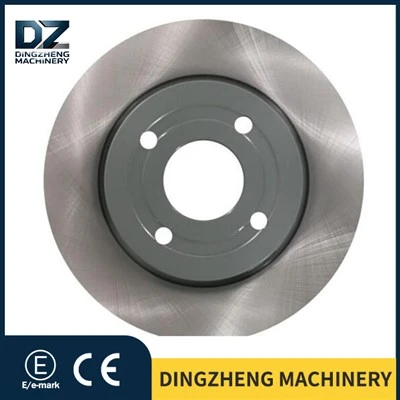


A brake drum won't warn you before it fails. You either catch it at the inspection bay, or you find out on a grade with 26 tonnes pushing you down the hill. Only one of those is a good afternoon.
Ask ten mechanics when to change a brake drum and you get ten answers, most of them built on noise, gut feel, or whatever the last supplier told them. The real answer is written on the part itself. Reading it properly takes a caliper and around ten minutes per wheel end. Everything else, the cracks, the blue patches, the grooves you can feel with a fingernail, is a second opinion on top of that number.
The number cast into the drum settles most arguments
Look at the outer band of any drum, near the bolt circle or along the rim, and you will find a stamped or cast figure. That is the maximum inside diameter, often called the discard diameter. Cross it and the drum is scrap. Not "watch it for another season". Scrap.
The UNECE rulebook for replacement brake parts, R90, explains why that mark exists at all. Manufacturers must either stamp the maximum diameter on the part or mark the friction surface in a way that will not polish off, so anybody checking the drum later knows where the limit sits. The rule is built on the assumption that the number is the decision.
Small drums leave very little room for argument. One light-car service manual lists a new bore of 203.2 mm and a service limit of 205.2 mm [5], which works out to roughly 2 mm of wear for the entire life of the part. Heavy drums are not much more generous in proportion, even though the bore looks huge. A 16.5 x 7 in drum starts around 420 mm, and the allowance on top of that is measured in a couple of millimetres, not a couple of centimetres. Which is why "it still looks thick" is not an argument. Nobody sees 2 mm of wall on a 420 mm bore by eye.
Road salt eats those marks after a few winters. When the number is gone, pull the specification from the part number. Don't guess, and don't let a machinist guess for you.
How to measure so the number means something
Four readings, 45 degrees apart, at two depths. That is the short version.
Clean the friction surface first. Rust scale and lining dust sit on top of the iron and a caliper will happily measure the dirt instead. Use an inside micrometer or a proper drum gauge. A tape measure and an angled vernier both produce numbers that look precise and mean nothing. Take one set of readings about 25 mm in from the open edge and another deeper toward the closed side, because drums do not wear evenly across their width. The difference between the two is taper, and taper is what makes a new set of shoes bite on one edge only.
Out of round is the spread between your biggest and smallest reading around the circumference. Most specifications put the ceiling at roughly a quarter of a millimetre on diameter. Past that, the shoes are slapping instead of sliding, and you feel it as a pedal that pulses.
Write all four readings on the job card. Six months later, when the same truck comes back, those numbers give you a wear rate, and a wear rate tells you whether the next set will last the season. One measurement is a photograph. Four over a year is a trend.
While the wheel is off, check the bolt holes for elongation and the mounting face for pitting. A drum that cannot sit flat will run out no matter how good the bore is.
Damage that overrides the measurement
A drum can fail inspection while sitting comfortably inside the wear limit. Four things do it.
Cracks that reach the friction surface. A short crack on the outer band is one conversation. A crack you can see on the braking face is another, and the drum comes off whatever the bore says.
Deep heat checking. Fine surface crazing after a hard life is normal, and most rebuilders leave it alone. Cracks wide enough to catch a fingernail, or a network that has started joining into a pattern, mean the casting has been through too many heat cycles to trust.
Blue or purple patches. That colour is tempering, and it means the drum has been hot enough to change the metal. It will not behave like the drum you just measured. Replace it.
Hard spots. These are the bright, glassy patches you find running a finger around the bore. They are localised areas that got hot enough to transform, they are harder than the surrounding iron, and they make the shoes grab and release. Resurfacing sometimes gets underneath them. Often it does not.
Then come grooves and scoring. A shallow groove is cosmetic. A groove deep enough to hold a fingernail, especially one that spirals, usually means a worn lining or a piece of foreign metal has been dragged around the bore, and the drum is finished. Heavy rust pitting on a trailer that sat out two winters tells the same story.
Look at the shoes for the other half of the diagnosis. A lining worn thin at one end, or a pair where one side is down to the rivets and the other is half left, points at the hardware rather than the drum: a sticky cam bushing, a seized roller, a bent spider, a slack adjuster wound the wrong way.
Why drums come off in pairs
Drums are replaced per axle end, both sides together. Not because suppliers enjoy selling two, but because a fresh drum on the left and a worn one on the right do not brake the same. The axle pulls under braking, the ABS sees uneven wheel speed and starts cycling when it should not, and the new drum carries more load than it should while it is still bedding in.
The same logic applies to shoes. A new drum with old shoes is a poor marriage. The old lining has taken the shape of the old bore, so it contacts the new surface on a narrow band until it beds in, and that narrow band is exactly where hot spots are born. If the shoes have more than half their life left and the drum failed on cracks rather than wear, reuse is sometimes reasonable, but check the contact pattern after a few hundred kilometres instead of assuming.
While the drums are off, the inexpensive parts are right there in front of you. Return springs, rollers, anchor pins, cam bushings and shoe retainers cost a fraction of a drum and almost nothing in extra labour, since the wheel is already apart.
Torque, runout, and the first few hundred kilometres
Clean the hub face with a scraper, not with a thick smear of grease. A little anti-seize on the pilot is fine. A millimetre of rust between hub and drum is not, because it tilts the drum and you have just built runout into a new part.
Snug the nuts in a star pattern, then torque in two or three passes to the figure the axle maker publishes. Check runout with a dial gauge afterwards. If it is out, take the drum back off and find the reason before going further. Wheel nut torque gets rechecked after the first loaded run, and drum torque belongs in that same stop.
Bedding in matters more than most drivers think. For the first few hundred kilometres, avoid repeated hard stops from highway speed and avoid a fully loaded descent if the schedule allows it. The lining needs to lay a thin, even film on the new bore. Do that and the drum runs cooler for the rest of its life. Skip it and you get a heat-checked drum at 30,000 km with a perfectly good bore, plus a customer who is convinced the part was defective.
When keeping the old drum is the cheaper call
Light crazing, a bore inside the limit, no cracks, no bluing. That drum goes back on. Pulling serviceable drums is not caution, it is waste, and on a fleet of forty trailers it is a line item somebody has to explain at the end of the year.
You can machine a drum, within limits. The bore can be refinished while there is material left to remove and the result stays under the maximum diameter. What gets forgotten is that every cut takes away iron that used to soak up heat. A drum opened up twice runs hotter than one that hasn't, and a hotter drum fades earlier on a long descent. If it is already close to the limit, machining is an hour of labour spent postponing a purchase you were going to make anyway.
The comparison that matters is not drum price against machining price. It is the price of a pair of drums against a roadside breakdown with a loaded trailer, a recovery truck, and a customer waiting on a delivery.
Quick answers
Can the same drum be machined twice? Only if both cuts still leave the bore under the maximum diameter, and only if there are no cracks. On heavy drums the allowance is small. In practice you get one cut, and often none.
How many kilometres should a drum last? There is no honest single figure. A line-haul trailer on flat ground and a tipper working a quarry face are not the same duty, and the difference is a multiple rather than a percentage. Measure at every brake job and build your own number for your own routes.
Do shoes have to be replaced with the drum? Usually yes, or at minimum inspect and reuse only when the lining is healthy, then check the contact pattern afterwards. A fresh bore with shaped old linings is how hot spots start.
Why does one side of an axle wear faster? Cam bushings, a dragging slack adjuster, a weak return spring, a bent spider, or a load that lives on one side of the trailer. The drum is reporting the problem, not causing it.
Where to go next
If you are ordering replacements, match the drum to the axle and the duty cycle before you look at price, and check that the maximum diameter is marked on whatever arrives. Our brake drum range covers the common heavy-truck and trailer sizes in outboard and inboard mounting. Send us your axle list and we will quote against it rather than against a generic